Stripe .NET checkout example to add online payments
Download our ASP.NET Core Stripe checkout example so you can accept online payments with your web application.
Software
This is the software that will need to be installed onto your machine.
- Visual Studio 2022. Version 17.10.2 or above. It will work with the free community version.
- .NET 8 SDK. Version 8.0.6 or above.
Get the application working
You'll need to fill out the code example form. We will send you an email where you can download the code example.
Sign up for a Stripe account
You'll also need to sign up for a Stripe account so you can get an API key to use this project.
Get a Stripe API key
Once you've signed up for Stripe, you'll need to login to your account.
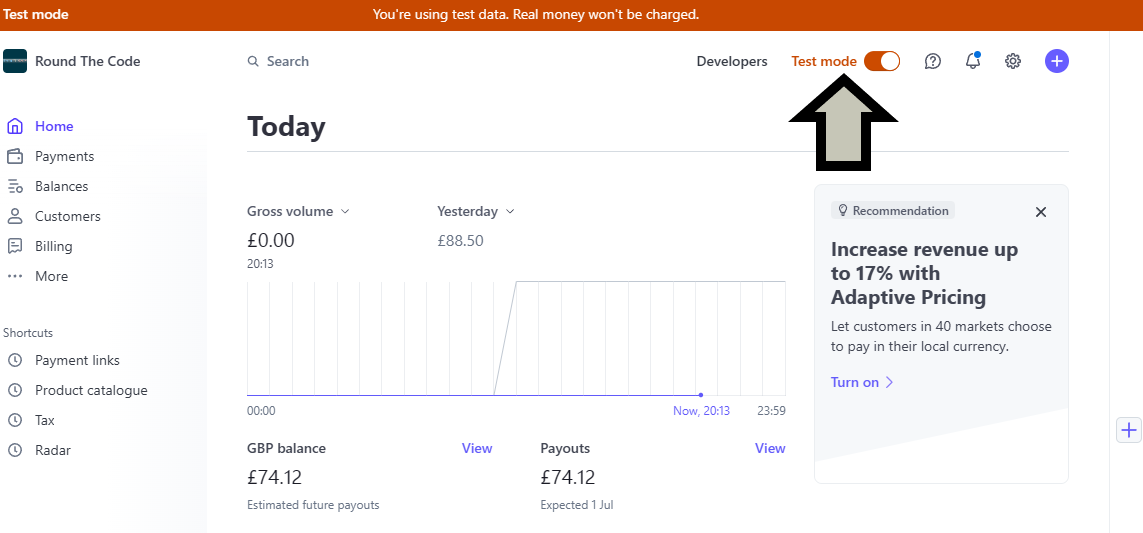
Turn on Test mode in your Stripe account
Afterwards, click on the Developers link to the left-hand side of it.
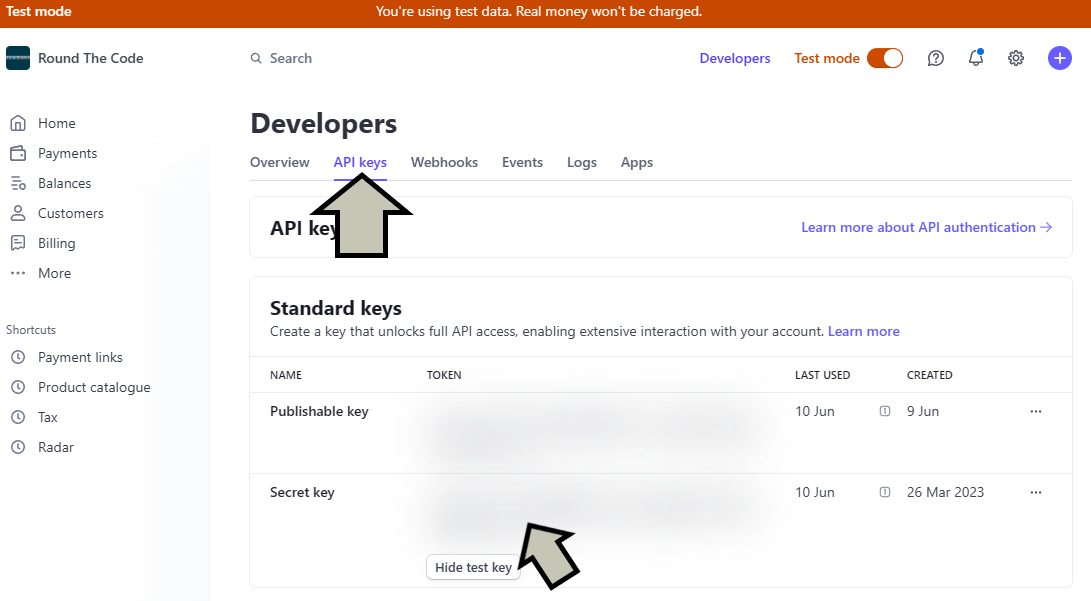
Get the Secret key from Stripe to integrate online payments
Paste the Stripe API key into your appsettings.Development.json file inside the Stripe:ApiKey key replacing YOUR_STRIPE_API_KEY_HERE.
Open the project in Visual Studio
Open up RoundTheCode.Stripe.sln in Visual Studio 2022.
https://localhost:9602.
appsettings.Development.json, it will redirect you to the Stripe online payment page once you've added an email address.
Useful Stripe links
More information
Watch our video where we show you how to integrate Stripe into your .NET project using the Stripe.net NuGet package.
In-addition, read our tutorial for more information on how to add it.
Related pages
